‘Tis the season of issuing store credits on trees and shrubs that failed to establish. It can be demoralizing, both for the Plant Desk staff and customers no matter how much gardening experience they have. No one wants to kill plants, but we all do at one time or another.
It sometimes seems that there are secret tricks to successfully establishing trees and shrubs in your landscape. It isn’t that magical though. Most plants will thrive if they’re given the right growing conditions. And we see it as our job to counsel as many of you as we can get to on a busy May Saturday. Perhaps I’ve stopped you on your way to the cash register with a Japanese Maple to ask about its future home. Or Matt has sent you home with a Hydrangea that you were sure was ready for the compost pile but he saw buds and new growth.
As plant geeks, we want to provide you with as many tools for success as we can, before you load those plants in your car. When plants fail to establish, there is almost always a reason and, by that logic, a lesson to be learned about what to change in the future. There are three major mistakes that gardeners make when planting that can contribute to a failure to thrive. Choosing the right plant for the site, improper planting techniques, and improper watering.
Location, location, location. What’s important in real estate is even more critical when deciding what plant to put where. It’s obvious to most gardeners that a tree, shrub or perennial that needs full sun should not be planted in the deep shade. And vice versa. I just looked at a row of arbs that were dying in the complete cover of mature spruces. All gardeners will try to push limits, but some rules are inviolate. Provide the correct amount of sun or shade. Be sure that you have the proper soil conditions. And if, like me, you are an envelope pusher when it comes to hardiness zones, be patient with those tender plants and please give them some protection from winter exposure.
Before you begin planting a new bed, dig a hole the size of a 5 gallon bucket and fill it with water. If it empties in less than an hour, you have well-drained soil. If it takes much longer, your soil is wet or compacted, and unless you’re installing a bog garden, will need amending with compost. The wetter the soil, the chunkier the compost should be. Don’t use sand or peat moss.
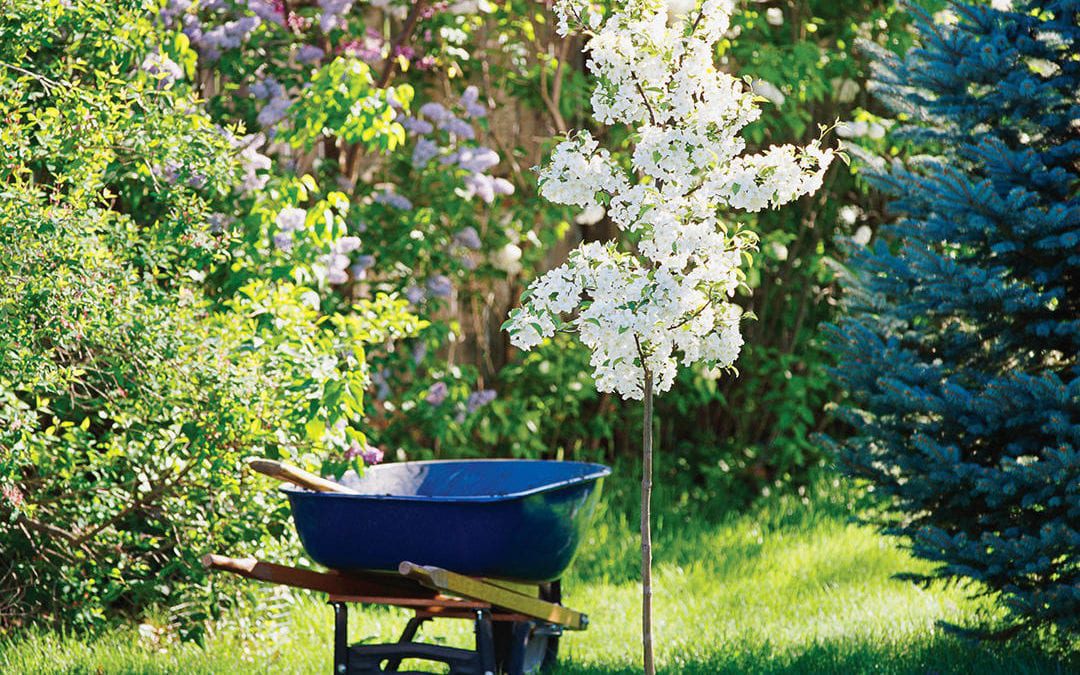
Now that you’ve chosen the proper plant for the space and determined your soil drainage, it’s time to start digging. Back in the day, the adage talked about a $100 hole for a $10 plant. We’ve learned a few things about how woody plants grow. Deeper is not better. Measure the root ball and dig your hole only as deep as the root ball is tall. Wider is still good, try for twice the width of the root ball. If your plant is in a pot, take it out and tease the roots downward and outward. Place it in the hole and backfill with the soil that you dug out. If your soil was slow to drain, amend it with 30% compost. Water, then straighten the plant if necessary and add some more backfill. Cover the planting area with a 3-inch layer of bark mulch, keeping it a few inches away from the stems of the plant.
The process is similar for plants wrapped in burlap balls. Once the root ball has been rolled into the hole, remove any twine that is tied around the stems or trunk of the plant. Peel the burlap away to expose the top of the ball and cut that excess off with some stout scissors. If there is a wire cage, it’s best for you to leave it alone. Some professional landscapers will remove it, but they know how to pull the cage away without damaging the root ball. The welds loosen before the roots are large enough to be girdled. Continue the job as explained for potted material.
I would hazard a guess that improper watering accounts for 75% of the plant problems that we see at the Garden Center. Every plant needs adequate irrigation to establish properly. Some plants, like Redbuds and Beeches, will require watering for their lifetimes. Most others can survive quite handily with whatever Mother Nature provides. But we’ve seen plenty of photos this spring showing 20- and 30-year old Junipers that just couldn’t handle the dry fall and the dry winter.
Establishing plants will need an inch of irrigation a week. So how do you know if the thunderstorm the night before was enough? Honestly, you’ll never meet people more obsessed about the weather than gardeners. So cultivate a relationship with a weather records site that records precipitation in your area. If you don’t get a good soaking rain, water thoroughly by setting the hose at the base of the plant. The water flow should be a pencil-sized trickle. You can also use a soaker hose coiled around the planting area. Timing for 20 to 30 minutes a week is adequate for small plants, and 45 to 60 minutes for larger ones. Do this weekly in the spring. When the weather gets hot and dry, check the soil moisture twice a week. You may need to water a little more often. When deciduous plants begin to color and lose leaves, you can cut back to every other week, but keep those hoses available until late November.
Getting your plants to establish doesn’t have to be rocket science. It depends on careful plant selection, proper planting techniques and attention to after-planting care. I’m not saying that you’ll never kill another tree, but you’ll know that you gave it your very best effort.